|
4/1/2023 0 Comments Drive genius defrag vs idefrag
Haven't actually run defrag from my iMac, though - too new.only had that a month and it's still blazingly fast, hardly any use compared to my MacBook. I have a quad boot (Lion, SL, Ubuntu, Win7) and this happens whenever I boot to either Lion or SL and try to defrag anything. But at this point the MacBook is still on, but with a black screen and the fan whirring away.įTR, I'm doing this on the MacBook mentioned on the side of this post. Last night I started a defrag on a 100-gigabyte partition and after about 15 minutes I went to bed. Thing is, every time I run the defrag on ANY partition on ANY drive, I get the progress animation for a while, but then the screen goes black and I can't do anything else unless I force the power off. I do have iDefrag and that always worked well, but I just bought Drive Genius 3 recently (and it helped me fix my wife's iPod drive!) so I figured what the hey. Keep in mind when defragging a TB HD or larger it can take an excess of 8 hours or more depending on the size of the drive.Okay, I know all the arguments for and against defragmenting Mac drives, but I do have some pretty nastily defragged partitions. The defragmentation process can take several hours so you will want to plan accordingly. After selecting defrag you will be prompted with a “Restart Required” message Additionally we recommend selecting the verify volume and defrag. You will be prompted with a “Warning that this operation may cause data loss” This is a standard message to ensure you do have a good back before proceeding. The yellow portion is reserved space required by the Mac OSX and can’t be defragmented.ĥ. The green portion represents used space that is not fragmented. The red portion represents fragmented data 
Four different colors are displayed to indicate the usage of space: Volume Fragmentation will display a graphical representation for a quick overview for the files laid across the volume to indicate how much fragmentation is across the hard drive. 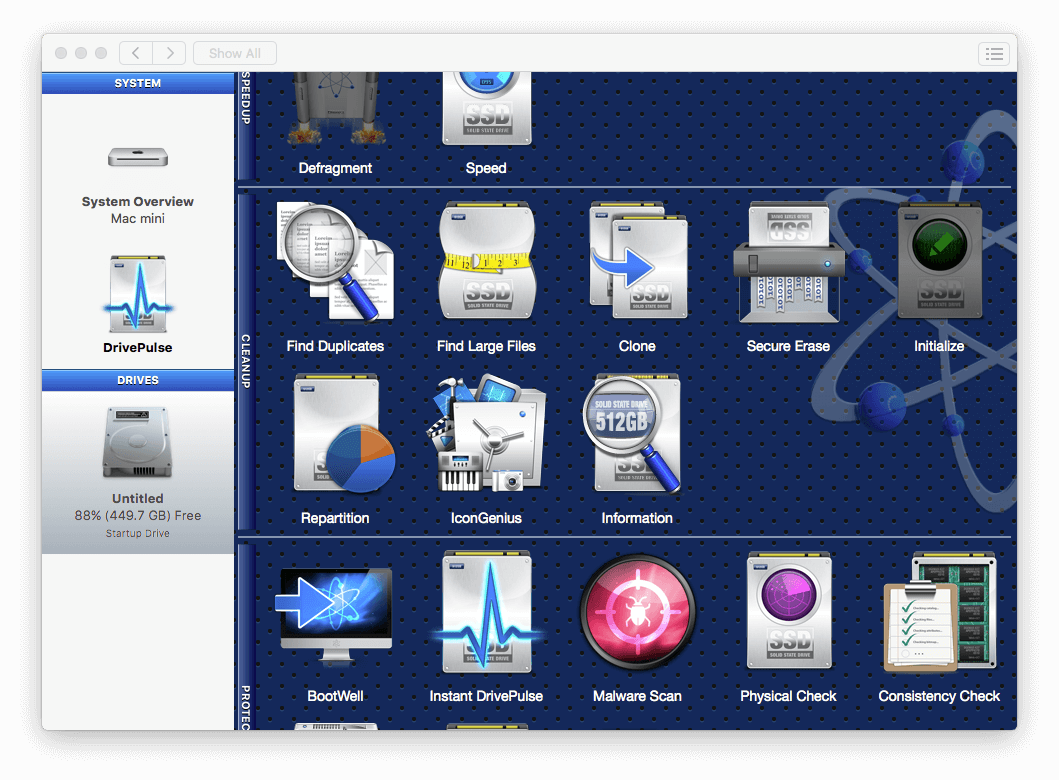.png "drive genius defrag vs idefrag")
To defragment your drive follow the steps below.īefore starting the defrag be sure to backup your drive and close all open files and applications before proceeding. Once complete, your system will restart normally. Your system will restart to a minimal system, the defrag routine will run and check your drive for errors, then defragment your drive. Simply select your drive and click Start. Defragmentation is one of the easiest ways to regain some of your systems lost performance. Should things start to get a little warm, activity will be paused until it has cooled down. 
There is no longer a need to restart your computer from alternate startup drives or the Drive Genius 3 startup DVD. As defragmentation is a disk intensive activity, iDefrag constantly monitors the temperature of your disk. Drive Genius 3 puts all these broken up pieces together into one continuous block with all of the empty space at the end. However, this will cause the drive to slow down as it will need to scan multiple parts of the hard drive to locate and read the file. When the OS writes files to the drive, it will look for empty space on the hard drive to write data to. In this blog I will briefly explain the basics of file fragmentation and how to defrag your Mac HD volume with Drive Genius 3.Īdding and deleting files to and from your hard drive will cause the drive to become fragmented. Using Drive Genius 3 to defrag your internal HD can speed up your boot times and improve application and file access overall.
0 Comments
Leave a Reply. |
AuthorWrite something about yourself. No need to be fancy, just an overview. ArchivesCategories |
 RSS Feed
